Sir We Have an Orc Problem Level 5 Walkthrough
Demo-famous pressure map with visual polish, speed ramps, and automation goals.
Why Level 5 gets its own page
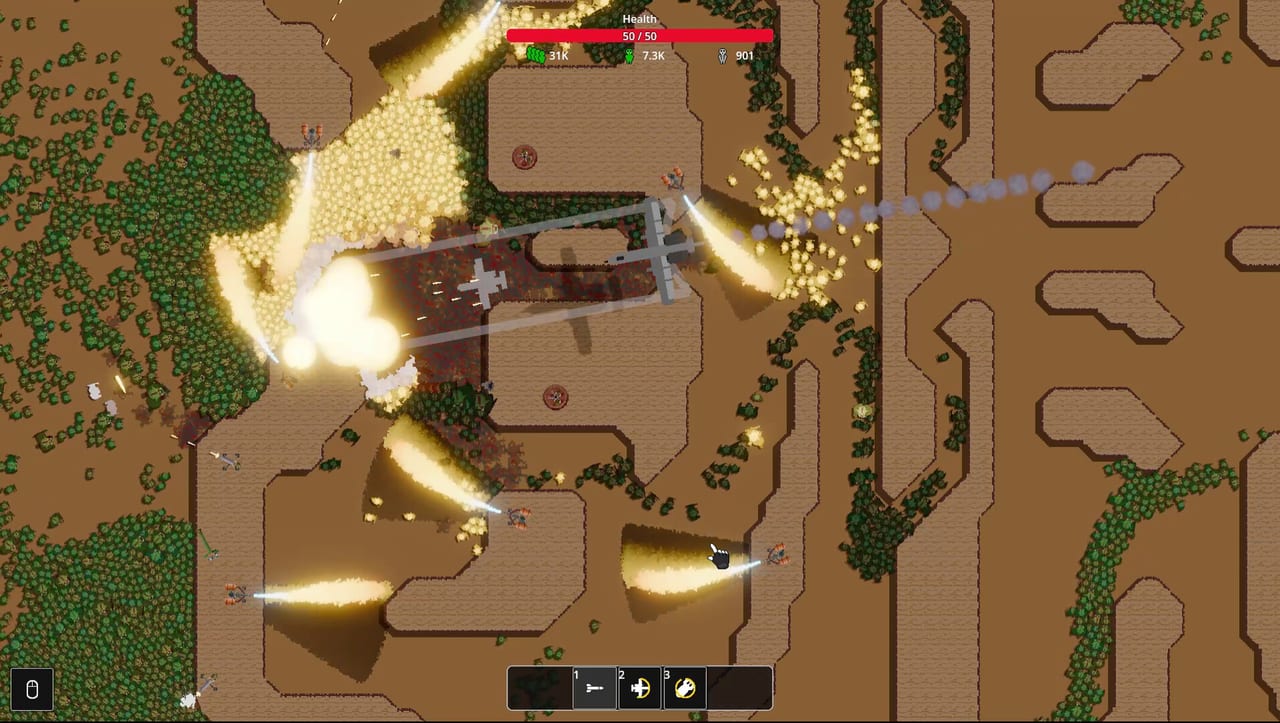
During playtest and demo cycles, levels 4 and 5 were called out for difficulty scaling work, and a June patch specifically improved level 5 visuals. Community clips chase fully automated flawless clears - towers alone holding the line without panic clicking. This walkthrough bridges Early Levels habits and Mid-Game speed pressure so you can stabilise the map before diving into late campaign hordes.
Watch the embedded automated clear for placement inspiration, then rebuild for your meta tree. Copying tower counts without matching upgrades fails once orc move speed ticks up.
Scout before you invest
- Open level select and note the enemy count iconography added in demo patches.
- Run a nearly empty scout to mark where the stream densifies.
- Recall with R and place a Flamethrower front on the true approach.
- Add Gunner or Cannon lines through the thickest lane; Mortars on merge points.
- Save missiles for the mid-wave pack, not the opening trickle.
Details on layering live in Choke Points and Tips and Tricks.
Meta checklist entering Level 5
You want more than bare Gunners:
- Economy nodes so farm attempts pay
- Gunner fire rate or penetration
- Flamethrower unlocked with at least baseline tick reliability
- Mortar or Cannon online for clumps
- Damage Statistics if available, to verify which line carries
- Optional Headhunter if tanky leaks survive the softener
Spend between attempts using Upgrade Priority and the Upgrade Planner. If flat Bonus Resources is purchased, finish each farm on the end screen - see Bonus Resources.
Automation mindset
Fully automated clears mean your kill zone deletes the wave without heroic ability spam. Steps toward that goal:
- Widen flame coverage so every orc burns once
- Align penetration paths so bullets keep traveling through the river
- Mortar shells land where bodies stack, not on empty berms
- Keep one ability for true emergencies only while testing automation
If automation fails at the same timestamp each run, rebuild that segment instead of buying raw HP. Speed-per-level means yesterday’s perfect line can be a frame late today.
Flamethrower debate on this map
Community threads argue flames are overpowered. On Level 5’s wider approaches they often are - after the June retune they still apply ticks reliably while per-tick damage is lower. Needle sections may still prefer Cannons. Let Damage Statistics settle it after two instrumented runs. Reference Flamethrower and Combat Upgrades.
Failure recovery loop
Expect several losses. Each one funds caps and rate nodes. Track survival time; if you die earlier than last attempt after a purchase, you misplaced towers rather than under-upgraded. Re-scout. When survival time climbs and leaks shrink to single digits, push for a clean clear and any clean-win bonus currency.
After Level 5
Move into Mid-Game Walkthrough and Late-Game Walkthrough, then Beat Hard Levels for 100k-scale waves. Keep Patch Notes handy if a future balance pass retunes flames or abilities again.
Related pages
- Walkthrough Hub - full stage list
- How to Play - build and battle refresher
- Turret Tier List - which tower earns slots here
- Bombing Runs - emergency clear tool when automation is not ready
Frequently Asked Questions
Quick answers to the most common questions.
Is Level 5 still the demo wall?
It remains a pressure map that received art and balance attention. Full release adds more content beyond it, but the skills transfer.
Can Level 5 be cleared with towers only?
Yes - community clips show fully automated flawless runs once kill zones and meta nodes align. Abilities become backups.
Why did my demo layout stop working?
Orc move speed increases per level and Flamethrower ticks were retuned. Rebuild the front line and verify with Damage Statistics.